Pinwheel Flower Tutorial
Supplies:
Fabric Scraps
Scissors
Needle and thread
Pins
Button
Compass or circular object
Pencil or pen
Paper
Directions:
1. Use a compass or circular object to draw a circle onto a piece of paper. The circle should be the size you want your finished pinwheel flower to end up being. Cut out the paper circle to use it as a stencil for cutting out 7 (thinner fabrics) or 6 (thicker fabrics like knit) circles from your fabric scraps.
2. Use one of the fabric circles as the base of your flower. Set it aside for just a bit. Fold a second circle in half once.
3. Then fold the half circle into the shape of a "s" or "z" by folding one side over one direction and...
the other side over the other direction.
4. This creates a triangle...
that you pin onto the fabric circle you are using for your base.
5. Repeat steps three and four continuing to pin the triangular petals around the circular fabric base. If you are using a thinner fabric, you will be able to fit six petals around the flower base, but if you are using a thicker fabric, you will only be able to fit five petals.
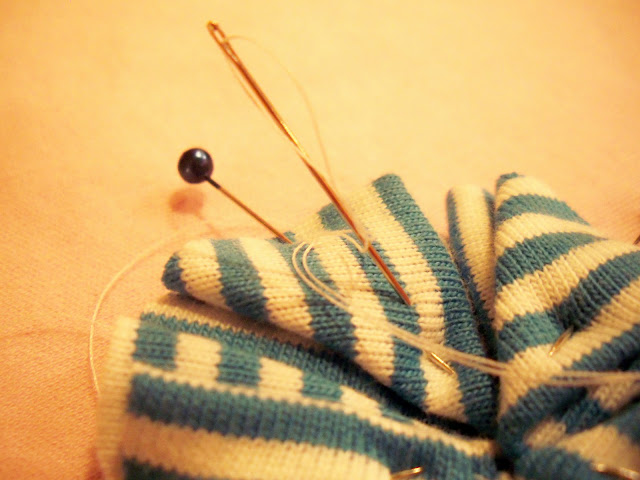
6. Use your needle and thread to secure the flower by making several stitches through all of the pieces around the center. (Tip: I usually sew a spiraling circle around the center that catches all of the pieces but is small enough to be hidden by the button.)
7. Secure a button to the center of your flower. Now you have a finished pinwheel flower.
You can attach a snap to it in order to use it for a "Snappy" T-Shirt headband,
glue a pin back onto it in order to use it as a brooch,
or simply sew it onto a piece of clothing.
You can attach a snap to it in order to use it for a "Snappy" T-Shirt headband,
glue a pin back onto it in order to use it as a brooch,
or simply sew it onto a piece of clothing.


Nenhum comentário:
Postar um comentário